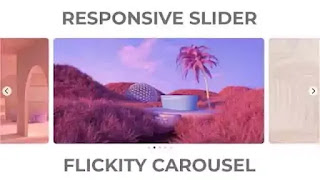
How are you, Friends. I hope everybody is well. Today we will share with you a carousel snippet. This snippet is made with a plugin called Fllickity. We have shared many snippets like this before in this blog. You can come and see them once if you want. We regularly upload front-end development videos to our YouTube channel. So stay tuned by subscribing to our channel. For this snippet, I will ask you to watch the video below because if you watch the tutorial, you will understand the snippet.
I hope you have watched the whole video tutorial and have learned how to use this plugin. This plugin is a Responsive and Touch-Enabled Carousel. This carousel plugin is very easy to implement. Add CSS and JS CDN to your file from plugin websites like video tutorials. Then take a Div called the carousel. Then I will take five different divs called 'carousel-cell' inside it. I will give a separate background image to each div via inline CSS. After that, the snippet will be completed using a little CSS.
You May Like this:
Responsive Carousel using Flickity [ Source Code ]:
To make this snippet, first, create one HTML file with a .html extension and CSS file with a .css extension. Add the required CDN's from the plugin website. After that, please copy the code below and paste them into your project files. If you encounter problems with the code given in the code box below, you can download the source code from the download button.
ADD HTML:
ADD CSS:
I hope you have successfully implemented the code. We share source code on CSS animation examples, HTML CSS and, front-end-development-related source code in this blog. Follow us on our social media profiles and stay connected with us. Thank you for stopping by.


Post a Comment
Please Do not Enter any spam link in the comment box